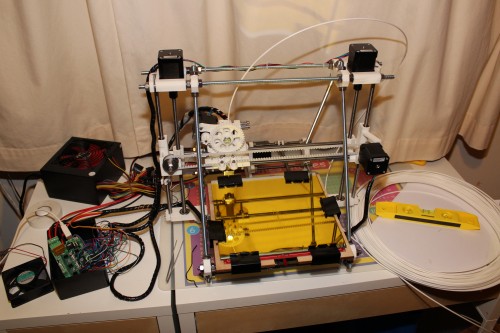
My highly anticipated 3D printer has finally arrived! I bought it from eBay as a fully assembled device, just because I didn’t want to bother assembling it myself or looking for parts to build from scratch. I was hoping it to be plug and play, but it turned out to require a bit more work to get it working.
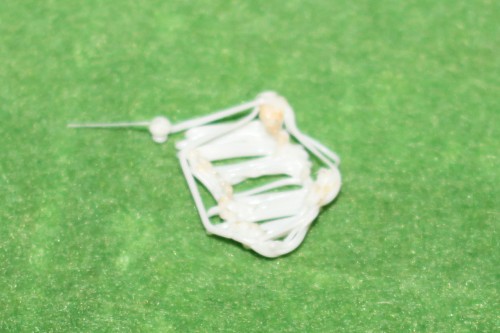
It was supposed to be fully calibrated, but it wasn’t. My first print turned out to be quite a bit of a mess.
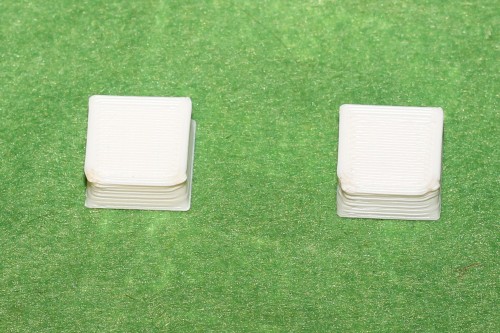
That’s the base of a cube. The hot end was too high. In fact, it was about 4 mm above the heated bed when it was supposed to be just 0.5 mm above. Once I realigned the heated bed, lowered the endstop of the Z axis it started working as it was supposed to and printed a few nice little test cubes.
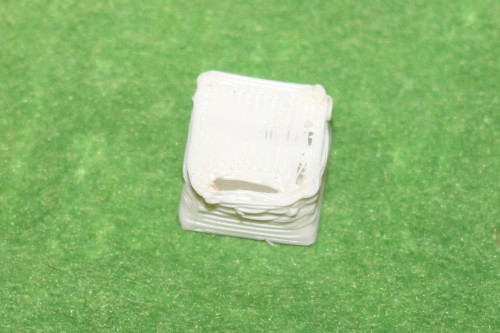
I’m still not satisfied with the two corners of the cubes, they are supposed to be close to 90 degrees, but they are somehow rounded. Still not sure what the cause of this is. The hollow box didn’t print very well too. I think I will need to add a fan to the print area in order for the plastic to cool down more quickly, otherwise it distorts some very thin edges.
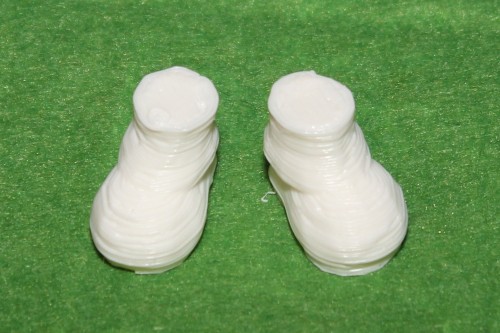
Solid items print rather well. The bigger one is about 2x2x1cm size.
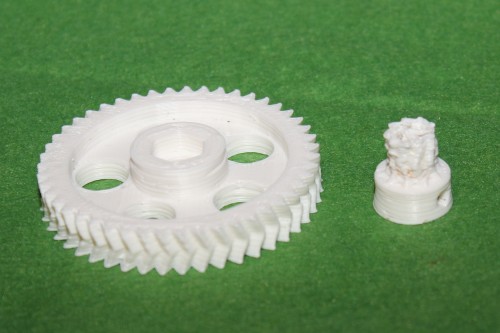
I had enough testing. What’s the point of those small cubes? :) That’s when I decided that I wanted to print something useful like gears for the next printer!
[youtube]https://www.youtube.com/watch?v=v3G9Ehca9Gg[/youtube]
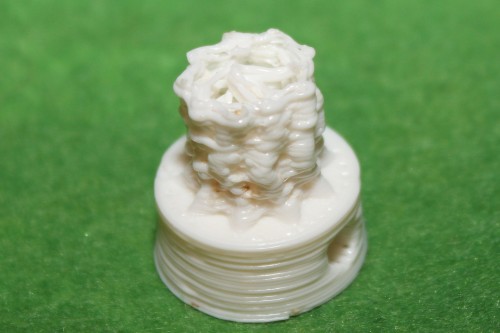
The big one printed out fine, but the small one was a mess. I think that the problem is somewhat software related for the small one, because printer was trying to print as if it wasn’t a solid block with empty space inside.
I still don’t have a clue what I need to set in Pronterface to make it print a fully solid item. Here is the close up shot of the small part.
So it turns out that my printer is good at printing larger designs until I have it sorted out.
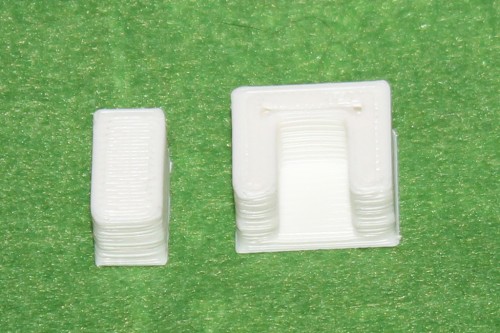
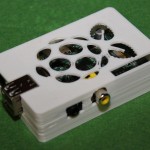
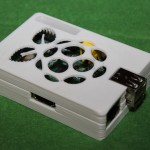
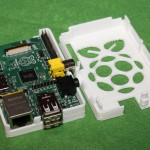
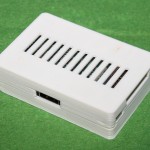
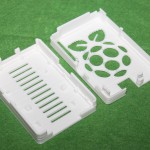
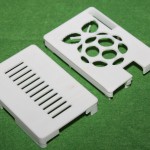
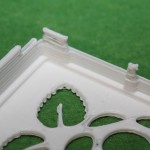
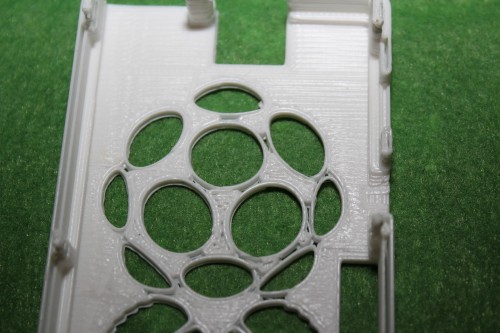
Next item on the list of useful things was a case for my Raspberry Pi. I got the design from the Thingiverse. It turned out stunning!
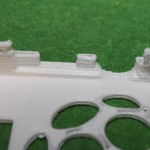
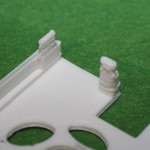
You can see in the pictures below that the printout of small parts was not very good, but the case still snaps well and holds Raspberry Pi in place. I especially love the airflow vents!
It seems that the printer leaves some empty spaces, that’s something to look into and troubleshoot for later. Could be related to issues with printing out those small bits too.
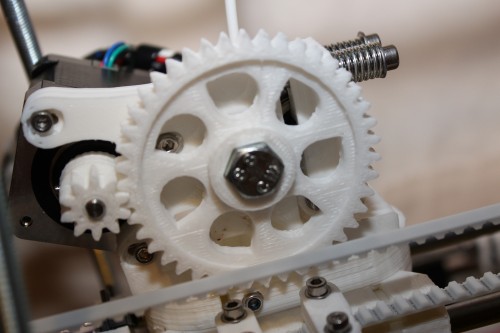
My biggest suspect now is the big extruder gear. It is a bit loose on the bolt and printer does not quite stop the extrusion when printer reverses the extrusion motor.
A few tips if you have just purchased a 3D printer:
- Aligning of all axis and heated bed it is a must. 3D printers are somewhat delicate, they can be easily misaligned during transportation. Test your calibration with this calibration object.
- If you are trying to align endstops and printer does not go beyond the previous position of an endstop, just type in “G92 Z40” in the Pronterface for RAMPS board with Marlin firmware. This will make the printer assume that Z axis is still 4cm above the endstop.
- Start with very basic objects like cubes and etc. Make sure they are printed correctly before printing any complex objects.
- Be patient and don’t try to remove the object while the heated bed is above 60 degrees Celsius. At 40 degrees it will be very easy to remove.
- Ensure that your 3D item is printable and does not have any parts that “hang in the air” without proper support.
DIY 3D printers may be a lot cheaper than industrial, but require a lot of tinkering and manual calibration. It’s still amazing that you can hold an item in your hands when it was only a 3D design in your computer minutes ago. It’s hard to describe how excited I am when I finally able to experience the potential of 3D printing!
I will keep updating this blog with my adventures in 3D printing and troubleshooting. Make sure you subscribe to my RSS!
did you ever fully sort the issues ?
Sort of… Which issues are you interested in? I finally gave up on Prusa and purchased Duplicator 4S. Works like a charm and no more fiddling with settings, firmware and etc.